# TouchDesigner インストール
[](https://book.a10-objects.jp/uploads/images/gallery/2026-04/YeHimage-3.png)
OSC開発で使用するビジュアルプログラミング環境のTouchDesignerのインストール方法です。
このアプリケーションは商用では有料となります。
macOS用のTouchDesignerが099(2017年)から使えるようになったのでダウンロードしインストールします。
細かいインストール方法などは、他のサイトを参考にしてください。ここでは、最低限の覚え書き程度です。
---
1.ダウンロード
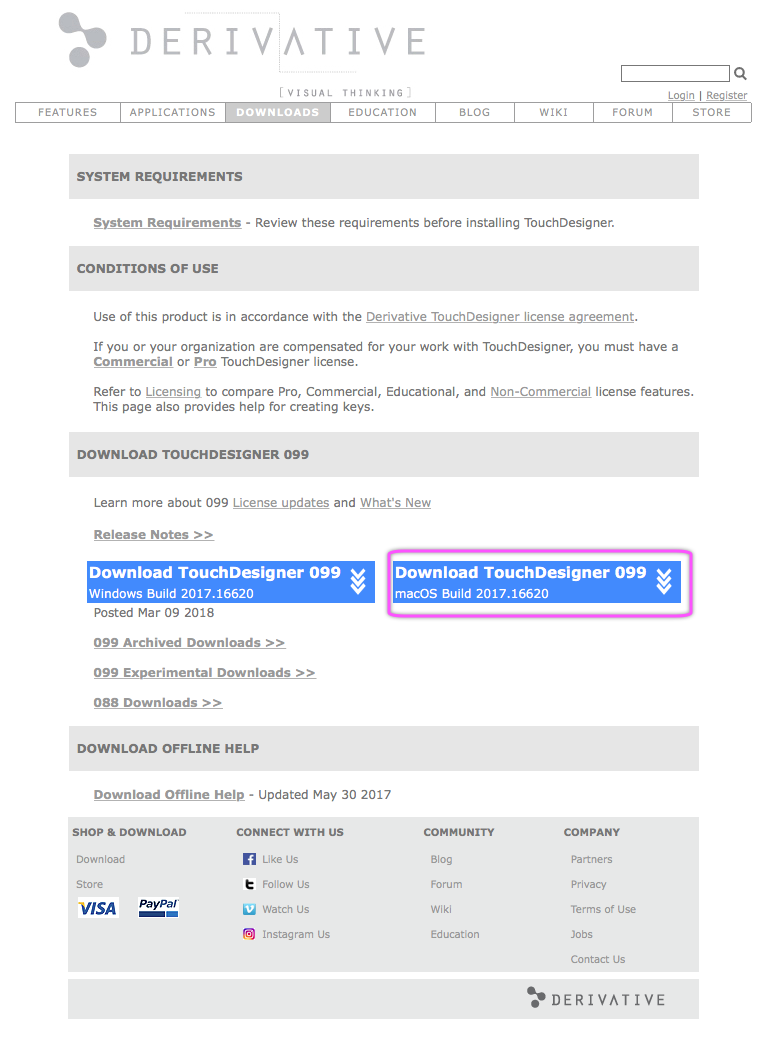
TouchDesignerの開発元であるDerivativeからmacOS版099をダウンロードします。
バーションは「099」ではなく、年度+ビルド番号?で表示されるようです。したがって、たまにチェックして新しいバージョンを確認しましょう。
[https://www.derivative.ca](https://www.derivative.ca/ "https://www.derivative.ca")
macOS版099 ダウンロード
[](https://book.a10-objects.jp/uploads/images/gallery/2026-04/1522584235.png)
[](https://book.a10-objects.jp/uploads/images/gallery/2026-04/1522584263.png)
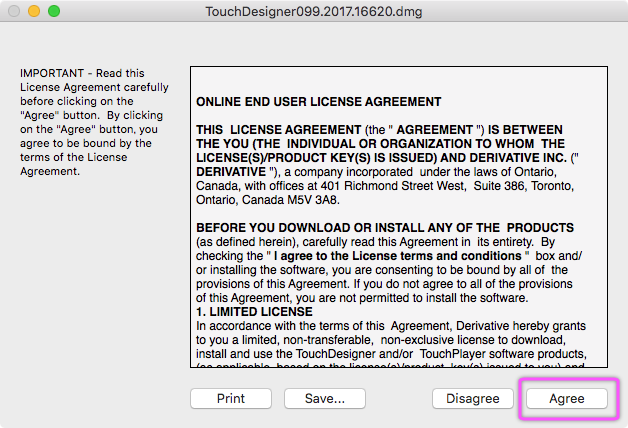
2.macOS版099 のインストール
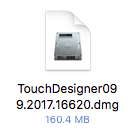
ダウンロードしたdmgファイルを開きます。
[](https://book.a10-objects.jp/uploads/images/gallery/2026-04/1522584374.png)
[](https://book.a10-objects.jp/uploads/images/gallery/2026-04/1522584437.png)
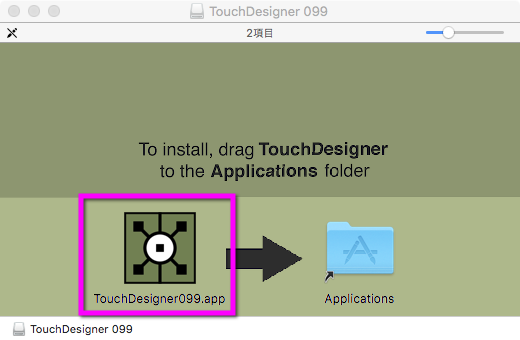
アプリケーションをアプリケーションフォルダにコピーします。
[](https://book.a10-objects.jp/uploads/images/gallery/2026-04/1522584481.png)
3.起動とユーザー登録
**ユーザー登録は必須です。**登録しないと使えません。
アプリケーションを起動します。
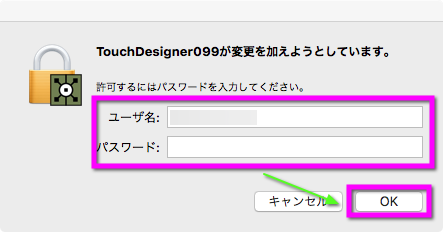
[](https://book.a10-objects.jp/uploads/images/gallery/2026-04/KKkimage-4.png)
Finderの認証画面。
[](https://book.a10-objects.jp/uploads/images/gallery/2026-04/1522584615.png)
アプリケーションの起動中の画面です。
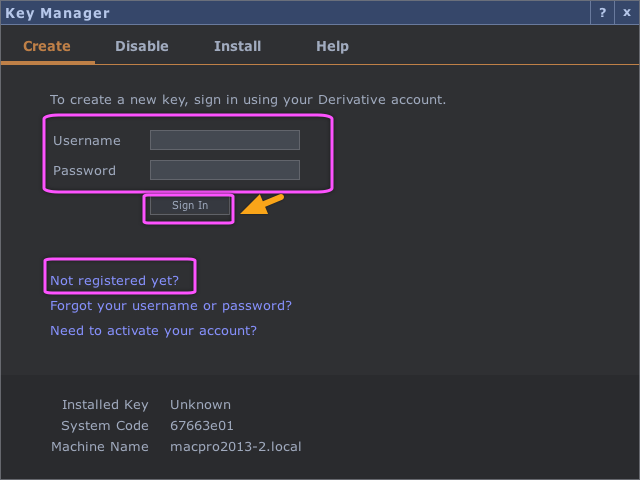
[](https://book.a10-objects.jp/uploads/images/gallery/2026-04/1522584687.png)
既にユーザー登録を済ませている方は「Username/Password」に入力してアプリを起動します。
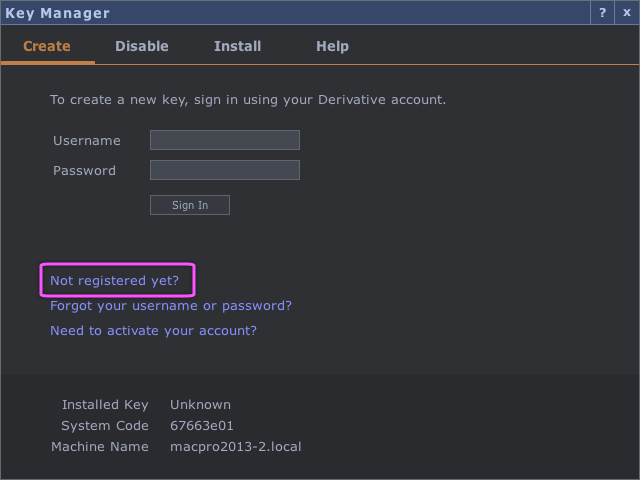
新しいユーザーなら「Not registerd yet?」をクリックしてWebページからユーザー登録を開始します。
[](https://book.a10-objects.jp/uploads/images/gallery/2026-04/1522584764.png)
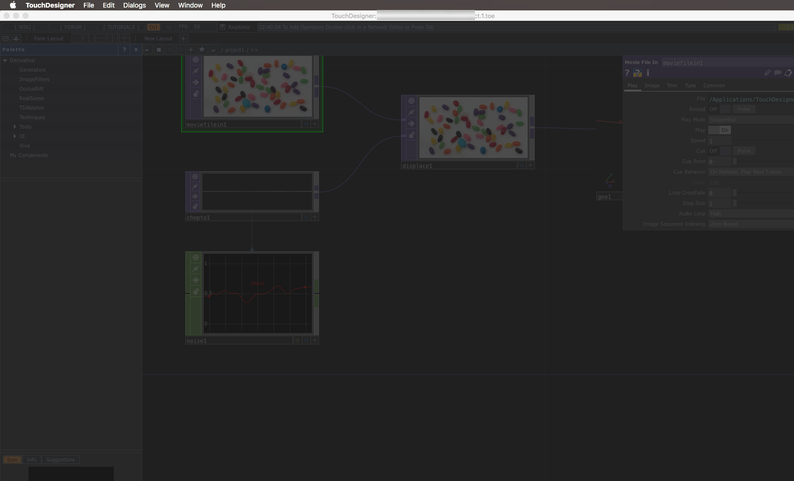
補足: ユーザー登録/ログインしない場合にもアプリは起動しますが、グレー表示になり操作はできません。
[](https://book.a10-objects.jp/uploads/images/gallery/2026-04/wjjimage.png)
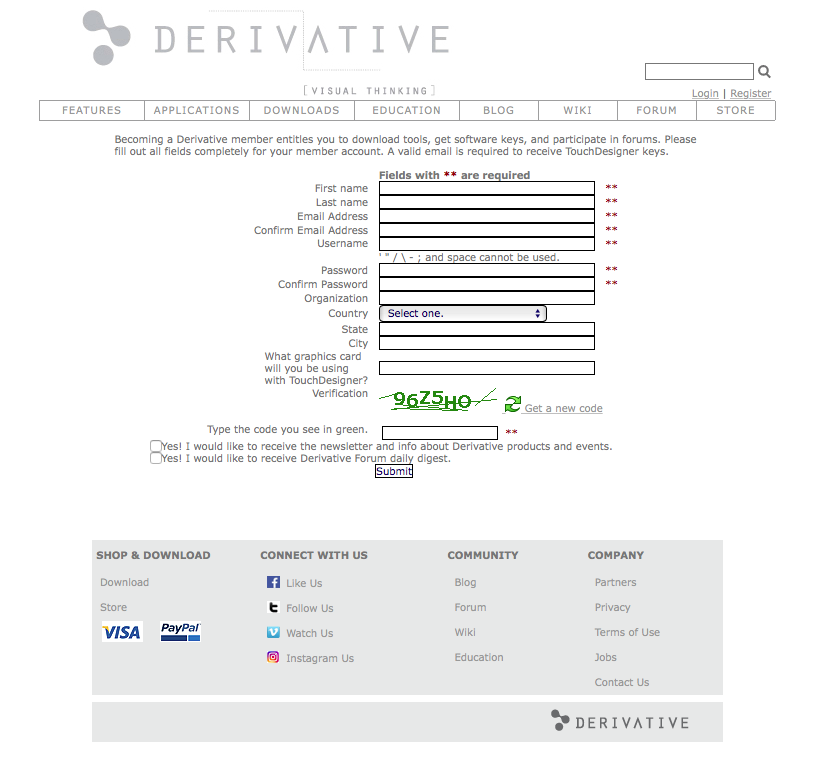
「Not registerd yet?」をクリック後のユーザー登録用のWeb画面
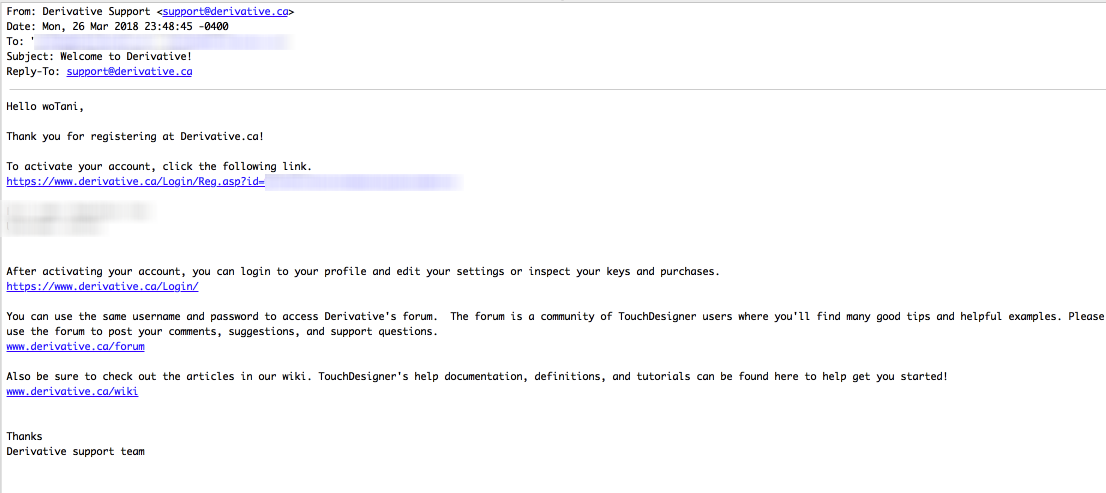
必要事項を入力して「submit」すると電子メールに確認のメールが届くのでアクティベーションを実行します。
[](https://book.a10-objects.jp/uploads/images/gallery/2026-04/UC51522584986.png)
[](https://book.a10-objects.jp/uploads/images/gallery/2026-04/1522584997.png)
[](https://book.a10-objects.jp/uploads/images/gallery/2026-04/1522585010.png)
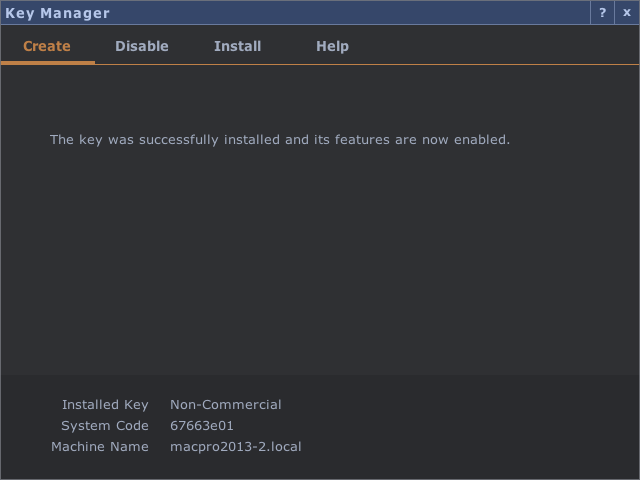
新しいユーザーでログインで入力するとKey Managerで非営利のキーが生成できるようになるので「Create Key」をクリックします。
完了すると次の画面のように完了画面が表示されます。
ウィンドウ右上の「×」をクリックしてKey Managerを閉じます。
[](https://book.a10-objects.jp/uploads/images/gallery/2026-04/1522585069.png)
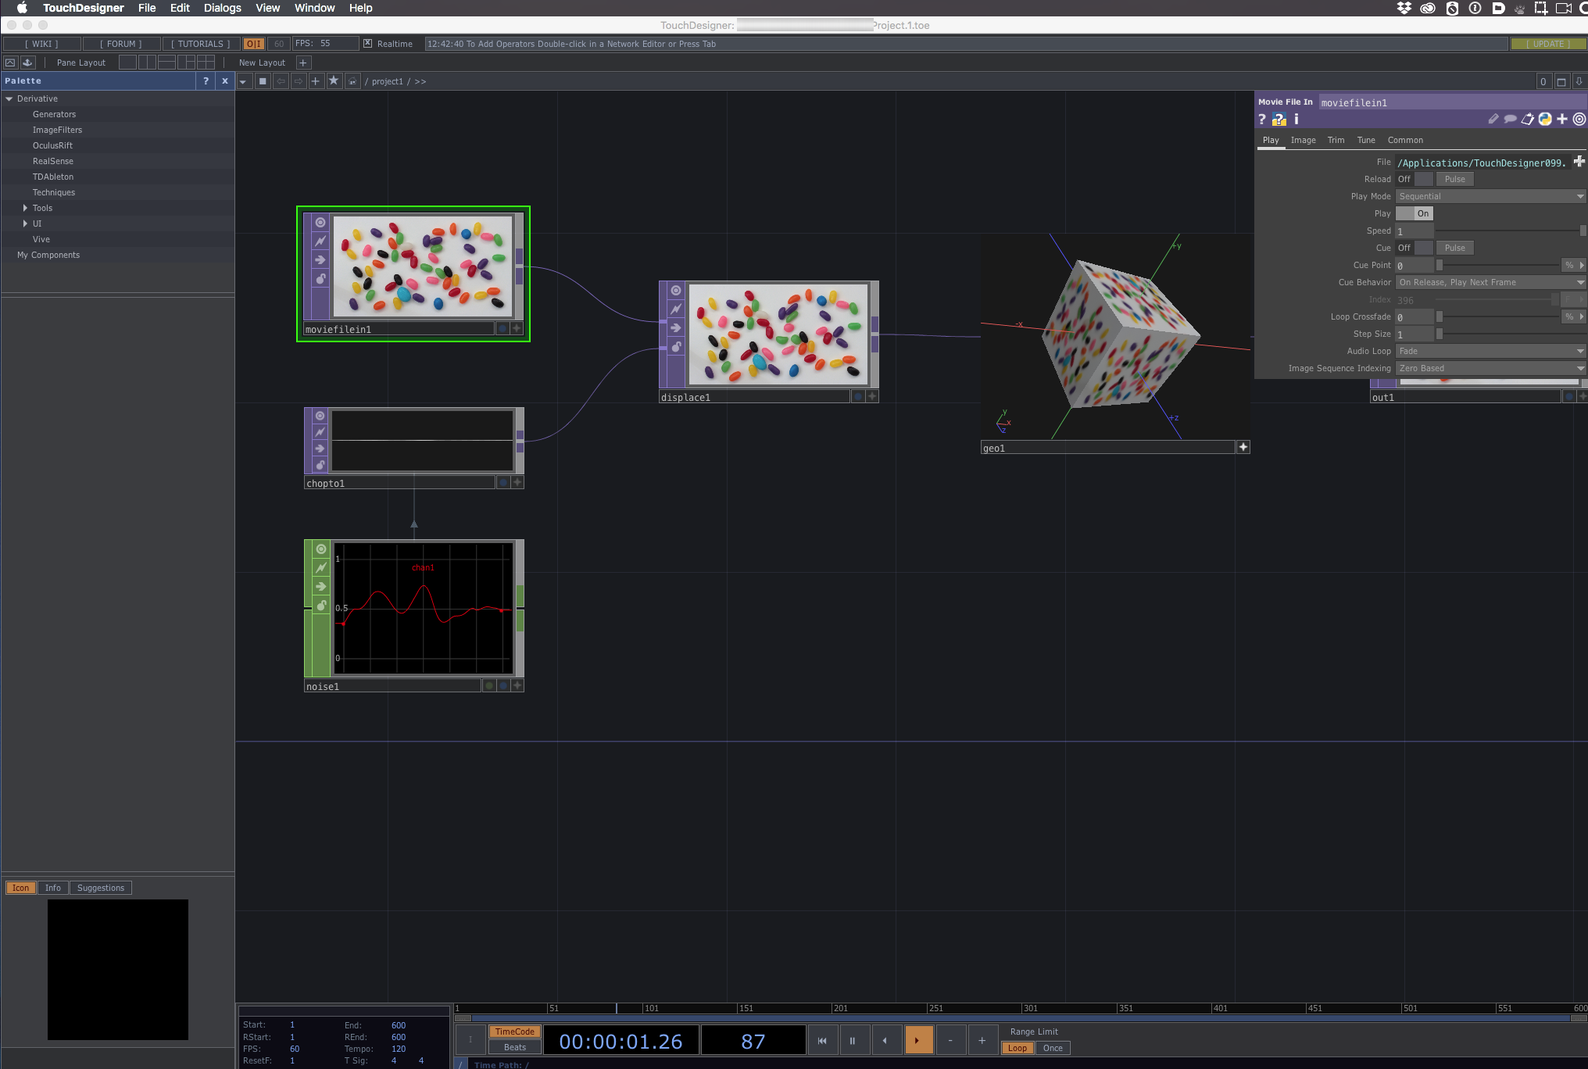
初期画面が表示されます。
[](https://book.a10-objects.jp/uploads/images/gallery/2026-04/W6Fimage-1.png)
---
以上で、インストール編は完了です。
それぞれのインストールに関しては、多くの方が記載されているのでこの辺で。。。